

Mr Roses expands beyond flowers with launch of national luxury hamper range
- Written by: Times Media

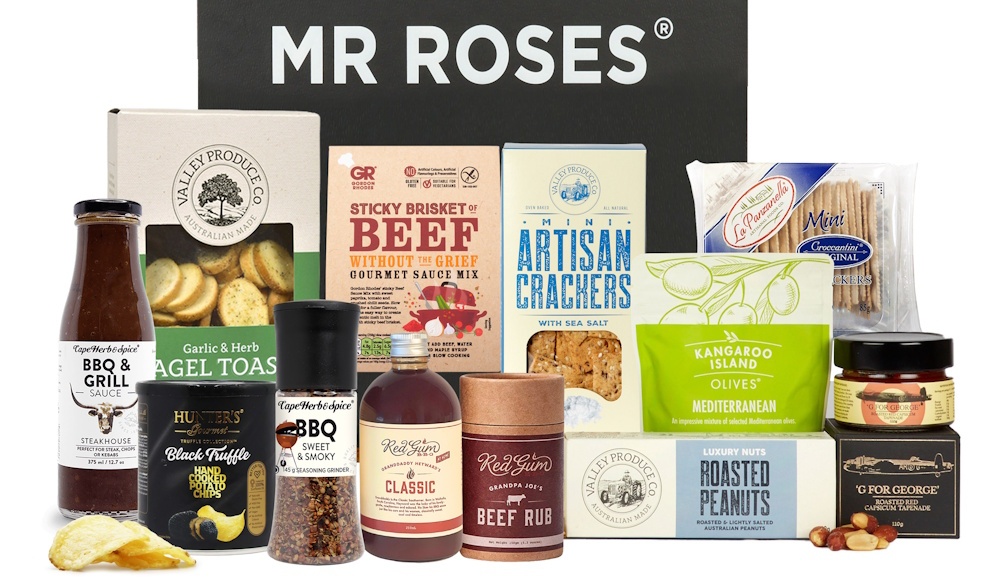
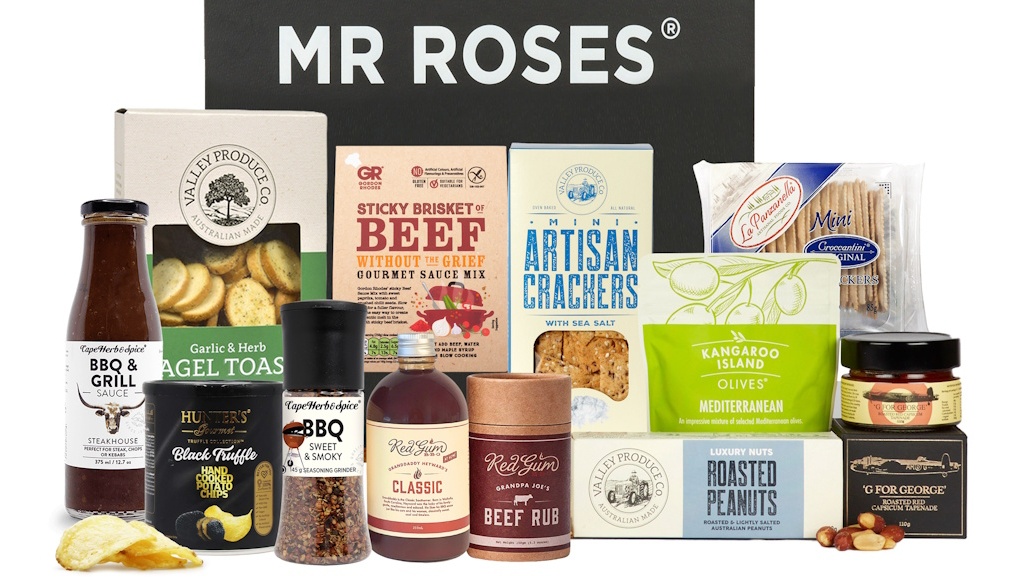
Australian premium gifting business Mr Roses has expanded beyond flowers with the launch of Mr Roses Hampers, a dedicated national e-commerce range spanning gourmet food, artisan treats, premium self-care products, wine and champagne. The new category launches following year-on-year growth of more than 21 per cent and customer return rates of up to 40 per cent, with hampers available exclusively through Mr Roses Hampers from $119.
The expansion gives Mr Roses a broader presence in Australia’s gifting market, with collections designed for birthdays, anniversaries, milestones, thank-yous, sympathy and corporate gifting. Customers can choose from gourmet, pamper, wine, sparkling wine and champagne hampers, with delivery available across Australia within one to two business days.
Founder James Stevens said the decision to enter the hamper category was driven by the strength of the company’s existing customer base and demand for premium gifts that combine quality, presentation and convenience.
“Our customers already trust Mr Roses to help them mark important moments, and they increasingly want more options beyond flowers,” Stevens said. “Mr Roses Hampers allows us to meet that demand while bringing the same focus on quality, presentation and reliable delivery into a new category.”
Customers currently spend an average of approximately $178 on a Mr Roses bouquet, with premium and luxury arrangements among the brand’s strongest-performing products. Stevens said customers frequently move into higher-priced options because the objective of gifting is often to make an impression, particularly when the price difference between standard and premium products is relatively small.
“When someone is sending a gift for a birthday, anniversary or significant milestone, they want it to feel generous and memorable,” Stevens said. “We have seen that customers are prepared to invest in premium products when the quality and presentation justify it, and we expect that behaviour to translate strongly into the hamper category.”
The expansion follows recent Australian Retail Council and Roy Morgan research showing that Australians continue to favour traditional and meaningful gifts despite ongoing cost-of-living pressures. For Mother’s Day 2026, flowers were the most popular purchase among those who knew what they planned to buy, selected by 39 per cent, followed by food and alcohol at 24 per cent.[1]
Birthdays, anniversaries and sympathy occasions collectively account for approximately 90 per cent of Mr Roses’ existing business. Valentine’s Day and Mother’s Day remain its largest seasonal occasions, generating both higher order volumes and higher average spend. The Mr Roses Hampers range includes birthday, anniversary, congratulations, thank-you, apology, pamper and gourmet food hampers. Selected products feature wine, sparkling wine and G.H. Mumm Champagne, with premium hamper options currently ranging up to $285.
The complete collection is now available exclusively at mrroseshampers.com.au. Australia-wide standard delivery is available within one to two business days.