

Why the Right Paint Supplies Can Make or Break a DIY Project
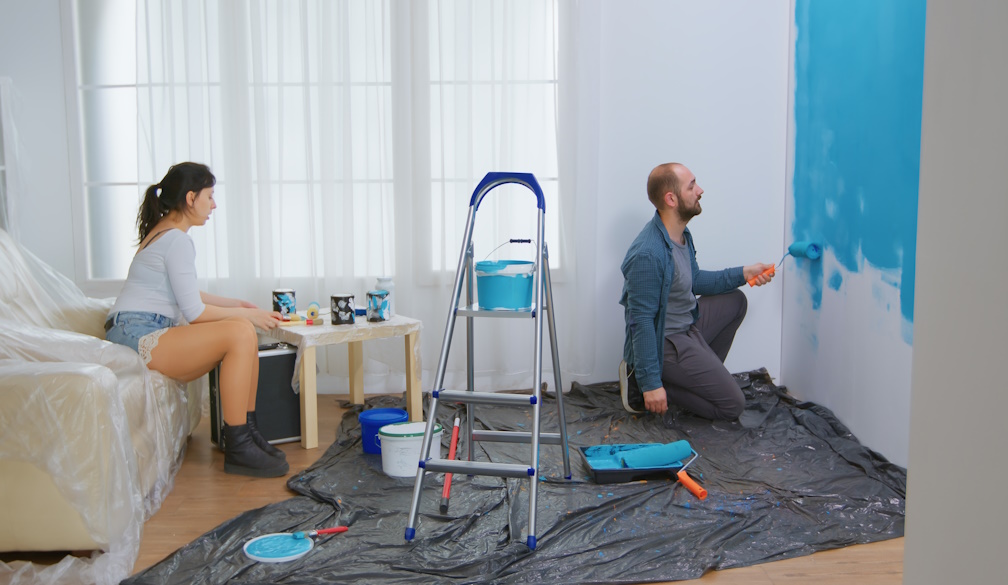
There’s a particular kind of optimism that kicks in before a painting job. You look at a tired bedroom, hallway or fence and think, “How hard can it be?” A few tins of paint, a roller and a free Saturday should surely do the trick.
Sometimes it does. Other times, you’re three hours in, the roller is shedding fluff onto the wall, paint is bleeding under the masking tape and there are mysterious streaks appearing every time the light hits the surface. The difference often has less to do with painting skill than people expect. The tools and materials you start with can have an enormous impact on the finished result.
That’s why it’s worth treating supplies as more than an afterthought. Specialist retailers such as Affordable Paint Supplies offer the kinds of brushes, rollers, preparation products and accessories that can make a DIY job considerably easier to control from the beginning.
Cheap Tools Can Create Expensive Problems
It’s tempting to save money on brushes and rollers, especially when you’ve already spent a decent amount on paint. The problem is that poor-quality tools can make good paint perform badly.
A cheap brush may leave obvious bristle marks or shed fibres into wet paint. A low-quality roller can create an uneven texture, splatter excessively or struggle to hold enough paint. Masking tape that doesn’t seal properly may allow colour to creep underneath, leaving you with edges that need to be painstakingly corrected later.
None of these problems is catastrophic on its own. Collectively, though, they turn what should be a straightforward weekend project into a frustrating exercise in fixing mistakes.
Spending a little more on the tools you’ll actually use throughout the job can save both paint and time.
Preparation Is Where Most DIY Jobs Are Won
Painting is unusual because the most important part happens before you open the paint tin.
Walls that look reasonably clean from across the room may be covered in dust, fingerprints, grease or small imperfections. Painting straight over them can cause adhesion problems or leave bumps and marks visible beneath the new finish.
Start by cleaning the surface properly. Fill nail holes and cracks, then sand the repairs until they’re smooth. Flaking or loose paint should be removed rather than simply covered. Depending on the surface and the colour change, you may also need a suitable primer or undercoat.
It’s not glamorous work, and nobody is going to compliment your impressive sanding technique when the room is finished. They will, however, notice how smooth the walls look.
Choose the Roller for the Surface
One roller doesn’t necessarily suit every wall.
Smooth plasterboard generally works best with a roller that produces a relatively fine finish. Heavily textured surfaces require a different nap so the paint can reach into small gaps and irregularities. Exterior brickwork, rendered walls and timber can all demand different approaches again.
The same goes for brushes. A wide brush may be ideal for larger timber surfaces, while a smaller angled brush gives you far greater control around windows, corners and skirting boards.
If you’re unsure, choosing tools according to the surface is generally more useful than simply buying whatever happens to be included in a generic painting kit.
Don’t Try to Make One Coat Do Everything
The promise of covering a room in a single coat is understandably appealing, but chasing maximum coverage in one pass often creates problems.
Applying paint too heavily can lead to runs, sagging and an inconsistent finish. It also takes longer to dry, which can make the second stage of the job harder rather than easier.
Two controlled coats will usually produce a better result than one overloaded coat. Follow the recommended drying time rather than judging purely by touch. Paint may feel dry on the surface while still being soft underneath.
Patience between coats is one of those small details that separates a finish that looks freshly painted from one that looks professionally done.
Masking Tape Has a Technique Too
People often assume that applying masking tape is enough to guarantee perfectly straight edges. Unfortunately, tape isn’t magic.
The surface should be clean and dry before application, and the tape needs to be pressed down firmly along the edge. If paint is allowed to build up heavily against it, removing the tape can sometimes tear or lift the new coating.
For cleaner lines, avoid flooding the taped edge with paint. Remove the tape carefully at the appropriate stage rather than leaving it attached for days.
And if you have a steady hand, you may eventually discover that carefully cutting in with a good angled brush is faster than taping every edge in the room.
Protect More Than the Floor
Most people remember drop sheets. Fewer remember door handles, light fittings, power points, hinges and the hundred other small things that seem to attract paint splatters.
Before starting, walk around the room and decide what can be removed, covered or protected. Taking five minutes to unscrew a switch plate is much easier than spending fifteen minutes scraping dried paint from it later.
It’s also worth keeping a damp cloth nearby while working. Fresh paint is significantly easier to remove than dried paint, so catching small accidents immediately can save plenty of cleanup.
Give Yourself Proper Working Conditions
Sometimes the room itself works against you.
Poor lighting makes it difficult to see missed patches and roller marks. Extreme heat can cause paint to dry too quickly, making it harder to maintain a wet edge. Very humid conditions may slow drying considerably.
Good ventilation, comfortable working temperatures and enough light to inspect the surface from different angles can improve the result substantially.
If possible, look at the wall both straight on and from the side. Low-angle light has an irritating but useful ability to reveal imperfections you didn’t notice while standing directly in front of them.
The Best DIY Painting Jobs Aren’t Rushed
There’s nothing particularly complicated about painting a wall, which is probably why people underestimate how many small decisions are involved.
The quality of the surface preparation matters. The roller matters. The brush matters. Drying time matters. Even something as simple as having the right tray, extension pole or scraper can make the work easier and more consistent.
DIY painting can absolutely deliver an excellent result, but the best approach is to resist the urge to sprint toward the satisfying part where colour starts appearing on the walls.
Prepare properly, use tools that suit the job and take your time between stages. You’ll spend slightly longer getting started, but considerably less time staring at the finished wall wondering why that one patch looks different from everything around it.